

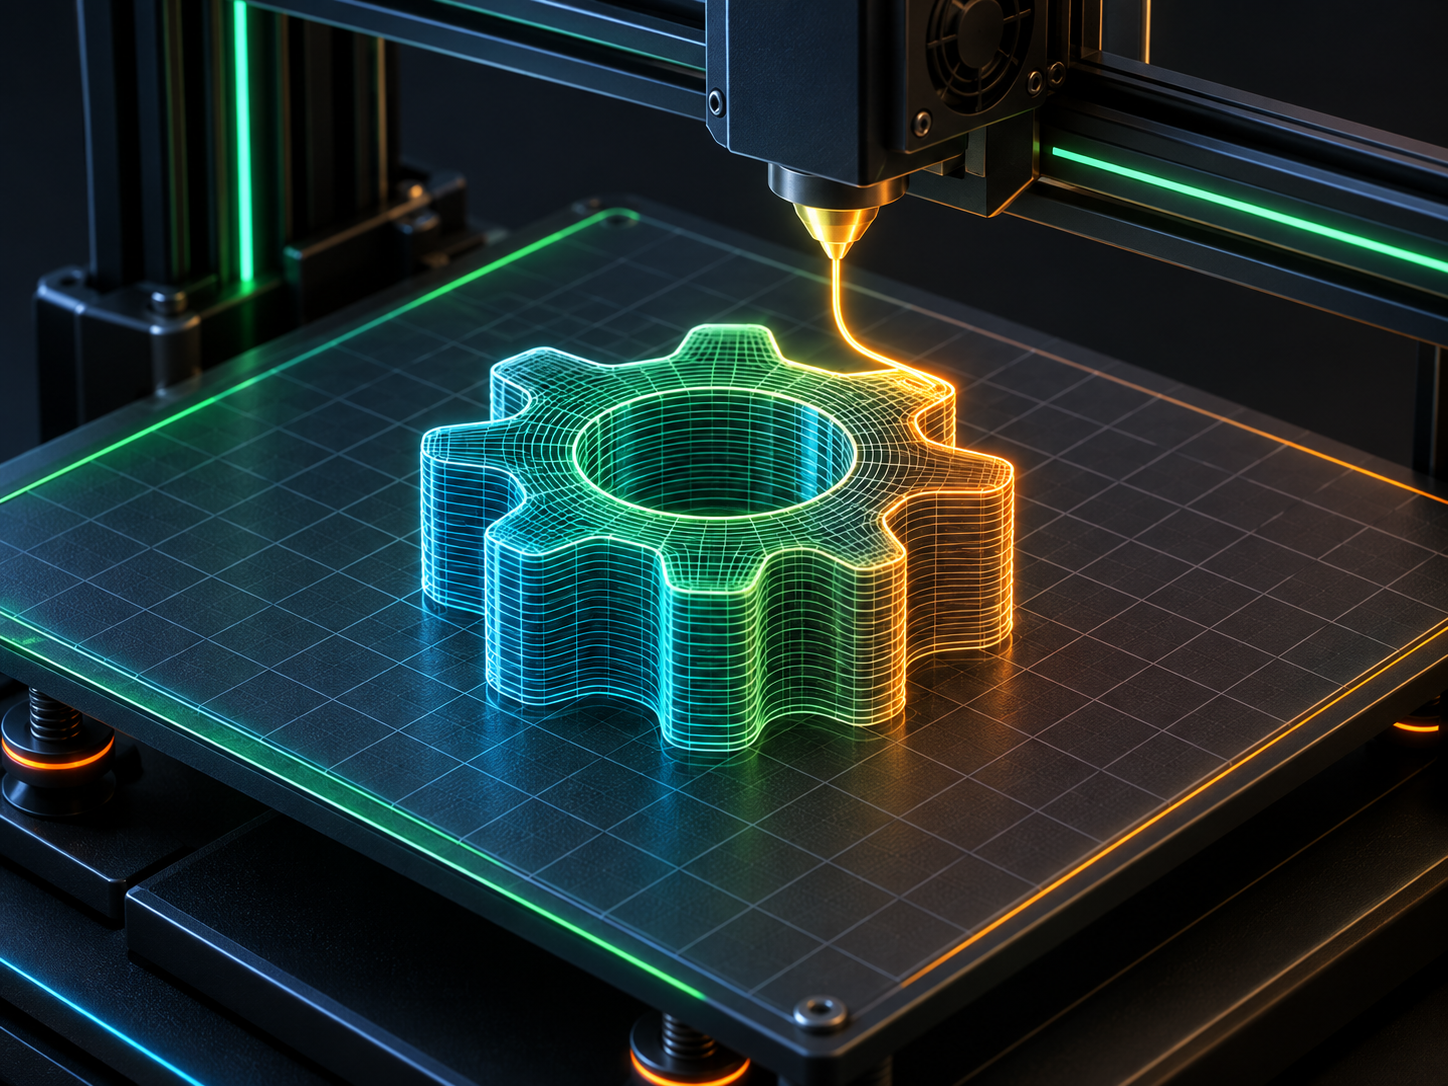
Plenty of people own a 3D printer and run out of ideas for what to print. Others give up on CAD in the first week. A newer batch of tools turns a sentence or a photo into a printable STL, but an AI-made model that you slice and print without checking will fail far too often.
What an AI 3D generator really hands you
These tools convert a prompt into a mesh, the triangulated surface that defines a solid shape. Generation itself is fast. Ask Meshy or Tripo for a model and the first result usually lands in twenty to thirty seconds, exported as STL, OBJ, 3MF, or GLB. The slicer-friendly formats are STL and 3MF.
The part that matters for printing is printability. A 3D printer needs a model that isn't hollow, has no open holes, and has no flipped face normals. That condition is called watertight, and it used to be something you fixed by hand in Blender. Current tools ship an auto-repair step that patches holes and cleans non-manifold geometry before export.
Don't treat that as a guarantee. Tools differ. Tripo has a reputation for cleaner print-oriented output, while Meshy leans on accessibility and its direct hand-off to OrcaSlicer and Bambu Studio. Rather than pick one on reputation, run the same prompt through both and compare the meshes side by side before you commit to either.
Gear and slicer before you generate
An AI file still has to pass through a slicer to print. Skipping that step isn't an option.
- Pick a printer. FDM machines are the sane starting point.
- Install a slicer that matches it. Bambu Studio, OrcaSlicer, and PrusaSlicer are the common choices.
- Make a free account on your generator. Both Meshy and Tripo offer free tiers with a monthly generation cap.
- Buy filament. PLA is the easiest to work with while you learn.
From a prompt to an STL in six steps
Here's the actual order of work. Each step has one thing to check.
- On the generator, choose text or image input. If you have a reference photo, image input beats describing it in words.
- Write the prompt with shape and style together. "A low, rounded armchair with four short legs, minimal style" gives the model something to hold onto.
- Hit generate and wait. Twenty to thirty seconds for a first pass is normal.
- Rotate the result and inspect the shape. If a leg merged into the body or a hole opened in the torso, fix the prompt and rerun.
- Choose STL or 3MF on export. If you plan a multi-color print, 3MF carries the color data better.
- Drop the file into your slicer and slice it.
Don't expect a perfect shape on the first prompt. Three runs to land on one you like is typical. Why does the second run so often beat the first? Because you've seen what the model misread. If your free quota is tight, refine the prompt before you spend a generation rather than after.
What to check inside the slicer
This is where beginners skip a step they shouldn't. Watertight from the generator still deserves one look in the slicer.
- Load the model and switch to the preview view.
- Walk through the layers and confirm the inside isn't hollow. Printing a hollow shell collapses the top.
- Look for thin sections. Anything floating with no support underneath needs supports turned on.
- Set a small scale first. Five to eight centimeters tall is enough to judge the shape.
- Set layer height. 0.2mm is fine; drop to 0.12mm if there's fine detail you care about.
- Set infill around 15 to 20 percent. Decorative figures can go lower, load-bearing parts higher.
- Slice, check the estimated time and filament use, then save.
If the preview paints a section red, the printer can't lay it down. That's usually missing supports or a model that's too thin. Going back to the generator and thickening the shape beats forcing the slicer to cope with geometry it was never going to handle cleanly.
Prompting for print success
The more complex the shape, the higher the failure rate. For printing, simpler tends to win.
Avoid thin films and sharp points. Printers smudge those. "A thick stem with three round leaves" survives printing better than "a twig with three thin leaves."
Ask for thick legs and a wide base. A figure standing on one leg needs a forest of supports and snaps easily after the print. A wide footprint prints flat and stays put. Obvious once you've watched a miniature break off at the ankle.
Don't pack several parts into one file. Separate pieces that you assemble afterward come out cleaner. Tripo can split a large model into build-plate-sized parts automatically.
Where prints go wrong
A print that fails halfway is usually a support problem. Steep overhangs need denser supports, or you rotate the model and try again. Annoying, but fixable.
Rough surfaces point at layer height and nozzle temperature. PLA prints well around 200 to 210 degrees Celsius.
If a precise part kept failing, the method may be the wrong one. FDM has loose dimensional accuracy, so gears and screw threads belong on a resin printer. The AI generator hands you a shape. It doesn't hand you the limits of the machine, and no prompt will make a cheap FDM nozzle resolve a gear tooth that small.
After the first success
Once a print comes off clean, raise the difficulty one notch. Generate the same character from several angles into a set, or make a small prop you'll actually use. When the instinct that simpler shapes print better settles in, you'll write prompts faster and waste fewer generations.